How to connect Airtable In N8N Workflows : A Step-by-Step Guide

Automating your workflows can save hours of manual work, and connecting Airtable to N8N is one of the easiest ways to streamline your data operations. In this guide, we’ll walk through setting up a workflow where N8N interacts directly with your Airtable database — allowing you to create, read, and manage records seamlessly.
Step 1: Set Up Your N8N Workflow
First, ensure you have a N8N workflow ready to work with. For this tutorial, we’ll use a simple workflow that executes on click. You’ll see a “Click to Execute Workflow” trigger and an Airtable node connected. You can add a new Airtable node by clicking the plus button and searching for “Airtable.” While this tutorial uses the Create Record node, you can select any Airtable operation depending on your use case.
Step 2: Create a Credential for Airtable

To connect N8N to Airtable, you need a credential. Under the credentials section in your Airtable node, select Create New Credential. You’ll be prompted to use either OAuth 2 or an Access Token — for simplicity, we’ll use the access token.
Head over to Airtable Personal Access Tokens to generate a token. Name it something recognizable, like NAN Tutorial.
Next, assign scopes (permissions) for the token:
Data.records:read — allows N8N to read records.
Data.records:write — allows N8N to write or update records.
Schema.bases:read — allows N8N to access the table schema (columns and fields).
Finally, select the base(s) you want N8N to access, such as your YouTube Airtable base. Once done, click Create Token and store it securely. This token grants N8N access to your Airtable data — so never share it publicly.
Step 3: Connect the Credential to N8N
Paste the token into the Airtable node in N8N and save the credential. Your workflow now has permission to interact with your Airtable database.
Step 4: Configure the Airtable Node
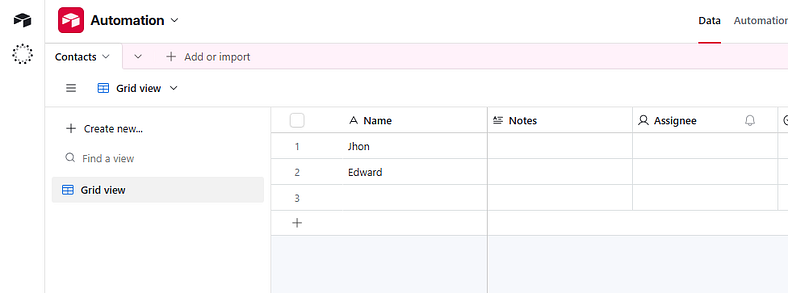
Next, select the resource (e.g., record) and operation (e.g., search). Then choose your base and table. For instance, the Automation Base with a Contacts Table. You can optionally add a formula to filter results, but for this tutorial, we’ll keep it simple.
Hit Execute Step, and you should see all the records returned. Each record includes an ID, creation timestamp, and other data — perfect for further processing in N8N.
Step 5: Using Airtable Data in Your Workflow
With records successfully fetched, you can now integrate Airtable data into your N8N workflow. Whether you want to automate notifications, update another system, or trigger further AI operations, this data is now available dynamically within N8N.
Why This Integration Matters
Connecting Airtable to NAN transforms how you handle data. Instead of manually exporting and importing spreadsheets, you can automate repetitive tasks, trigger AI workflows, and keep your records up-to-date effortlessly. This setup is especially useful for content creators, project managers, and teams that rely on Airtable for database management.
Next Steps
Once comfortable with fetching records, you can expand your workflow to:
Connecting Airtable to N8N is a small step with big automation potential. With your workflow set up, you can now manage data efficiently, reduce errors, and free up valuable time for creative or strategic work.
Bonus Tip: For more workflow templates and N8N automation tips, join the community linked in the description — you’ll find ready-to-use templates and step-by-step guidance for your own projects.