Automating Invoice Processing and Email Notifications: A Step-by-Step Guide
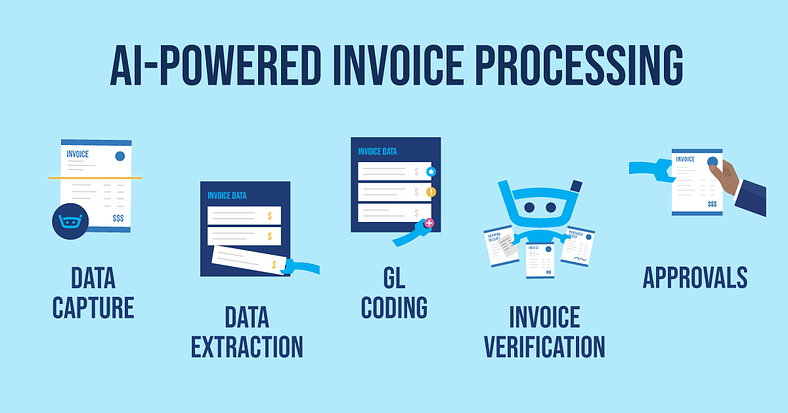
In today’s fast-paced business world, automating repetitive tasks like invoice processing can save both time and resources. In this tutorial, I’ll guide you through the process of creating a powerful workflow to automatically process invoices, extract relevant details, and send email notifications using n8n and AI.
Step 1: Set Up the Trigger for New Invoices
The first step in automating our invoice workflow is to define the trigger. In this case, we want the workflow to start whenever a new invoice is uploaded to a specific folder in Google Drive.
Google Drive Trigger: We’ll use n8n’s Google Drive trigger to monitor changes in a designated folder. Whenever a new file is created (in this case, an invoice in PDF format), the workflow will automatically start.
Testing the Trigger: After the trigger is set, you can test it by uploading an invoice into the folder. The trigger will fetch the newly uploaded PDF, and you can check that everything works by verifying the file’s details.
Step 2: Download the PDF File
Before we can extract text from the uploaded PDF, we need to download the file from Google Drive.
Download the File: We’ll use n8n’s Google Drive Download node to fetch the PDF file. This ensures we have the necessary binary data to extract information.
Test the Download: After setting up the node, test it by running the workflow and confirming that the PDF is being correctly downloaded.
Step 3: Extract Text from the PDF
Once we have the PDF, the next step is to extract the text data that we need for processing. This is where AI comes in.
Extract Text: We’ll use n8n’s PDF text extraction node to extract all the text from the PDF. This node reads the binary data of the PDF and converts it into text, which will include all the relevant information like invoice number, client details, and amounts.
Test the Extraction: Run a test to make sure the extracted text contains all the necessary information for the next steps.
Step 4: Extract Specific Data Using AI
Now that we have the extracted text, we need to identify and isolate the relevant details. This is where the magic of AI comes into play. We’ll set up an Information Extractor using n8n’s AI node to pull out the following key details from the invoice:
Invoice Number
Client Name
Client Email
Client Address
Client Phone
Total Amount
Invoice Date
Due Date
By setting up the AI node, we can automatically extract these attributes from the raw text and ensure that all the key details are properly identified and organized.
Step 5: Add Extracted Information to Google Sheets
With the relevant data extracted, the next step is to store it in a Google Sheets document for tracking purposes.
Add Data to Google Sheets: Using the Google Sheets Append Row node, we’ll add the extracted invoice data into a pre-set Google Sheets database. This way, all incoming invoices will be logged in an easily accessible format.
Test the Update: Run a test to make sure the data is correctly mapped and added to your Google Sheets document.
Step 6: Generate an Email Notification
Now that we have the extracted data in Google Sheets, we need to send an email notification to the internal billing team.
Set Up an Email Generator: We will use n8n’s AI node once again to generate the email content. The email will notify the billing team that a new invoice has been received and provide them with all the necessary details.
Email Content: The email will include details like the invoice number, client information, total amount, and due date. You can also customize the email to include a link to the Google Sheets document for easy access.
Test the Email: Run a test to ensure that the email is being generated correctly with all the relevant information.
Step 7: Send the Email
Finally, once the email content is ready, it’s time to send it.
Send the Email: Using n8n’s Gmail node, we will automatically send the email to the billing team. The email will include the extracted invoice information and a link to the Google Sheets database for reference.
Test the Email: Run a final test to ensure that the email is correctly sent to the intended recipient.
Step 8: Automating the Entire Workflow
Once the workflow is complete and tested, you can set it up to run on a schedule (e.g., every time a new invoice is uploaded to the folder). This will ensure that invoices are automatically processed, recorded, and the appropriate teams are notified without any manual intervention.
Conclusion: Fully Automated Invoice Processing and Notification
By following this guide, you now have a fully automated invoice processing system that:
This workflow will not only save your team valuable time but also reduce the chances of errors, ensuring a smooth and efficient invoice management process. If you want to learn more about n8n or need help with advanced automations, feel free to check out my other tutorials or join my community for further learning!
Happy automating!